Having frozen rice on hand for quick recipes can be such a life saver. I’ve spent way too much money buying pre-packed frozen rice from the grocery store, so I’ve finally decided to make my own. It’s budget-friendly and a great way to meal prep. Add frozen rice directly into sauces and soups, or microwave and mix with butter and salt for an easy side dish. Stock your freezer with cooked rice today, and you’ll thank yourself later!
I’ve been buying packaged, frozen rice from Trader Joe’s for a few years now, and it’s always so handy to have around. Rice doesn’t take too long to prepare from scratch, but it’s so much easier when you have it ready in just 3 minutes rather than 20-25 minutes, especially when you have hungry kids. This post is about freezing rice, but the same method will work for most other grains as well. I hope you find my guide on How To Freeze Rice helpful, and you won’t regret stocking up your freezer today.
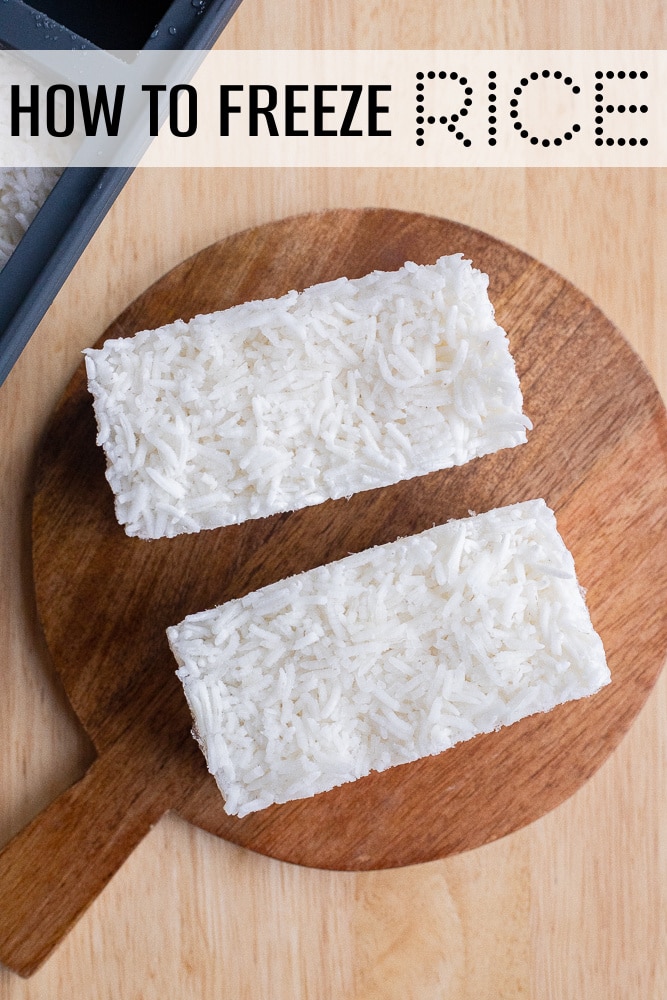
How To Freeze Rice
Freezing cooked rice is really easy and can be done in a few different ways. Below, I’m sharing exactly how I freeze it, with step-by-step instructions.
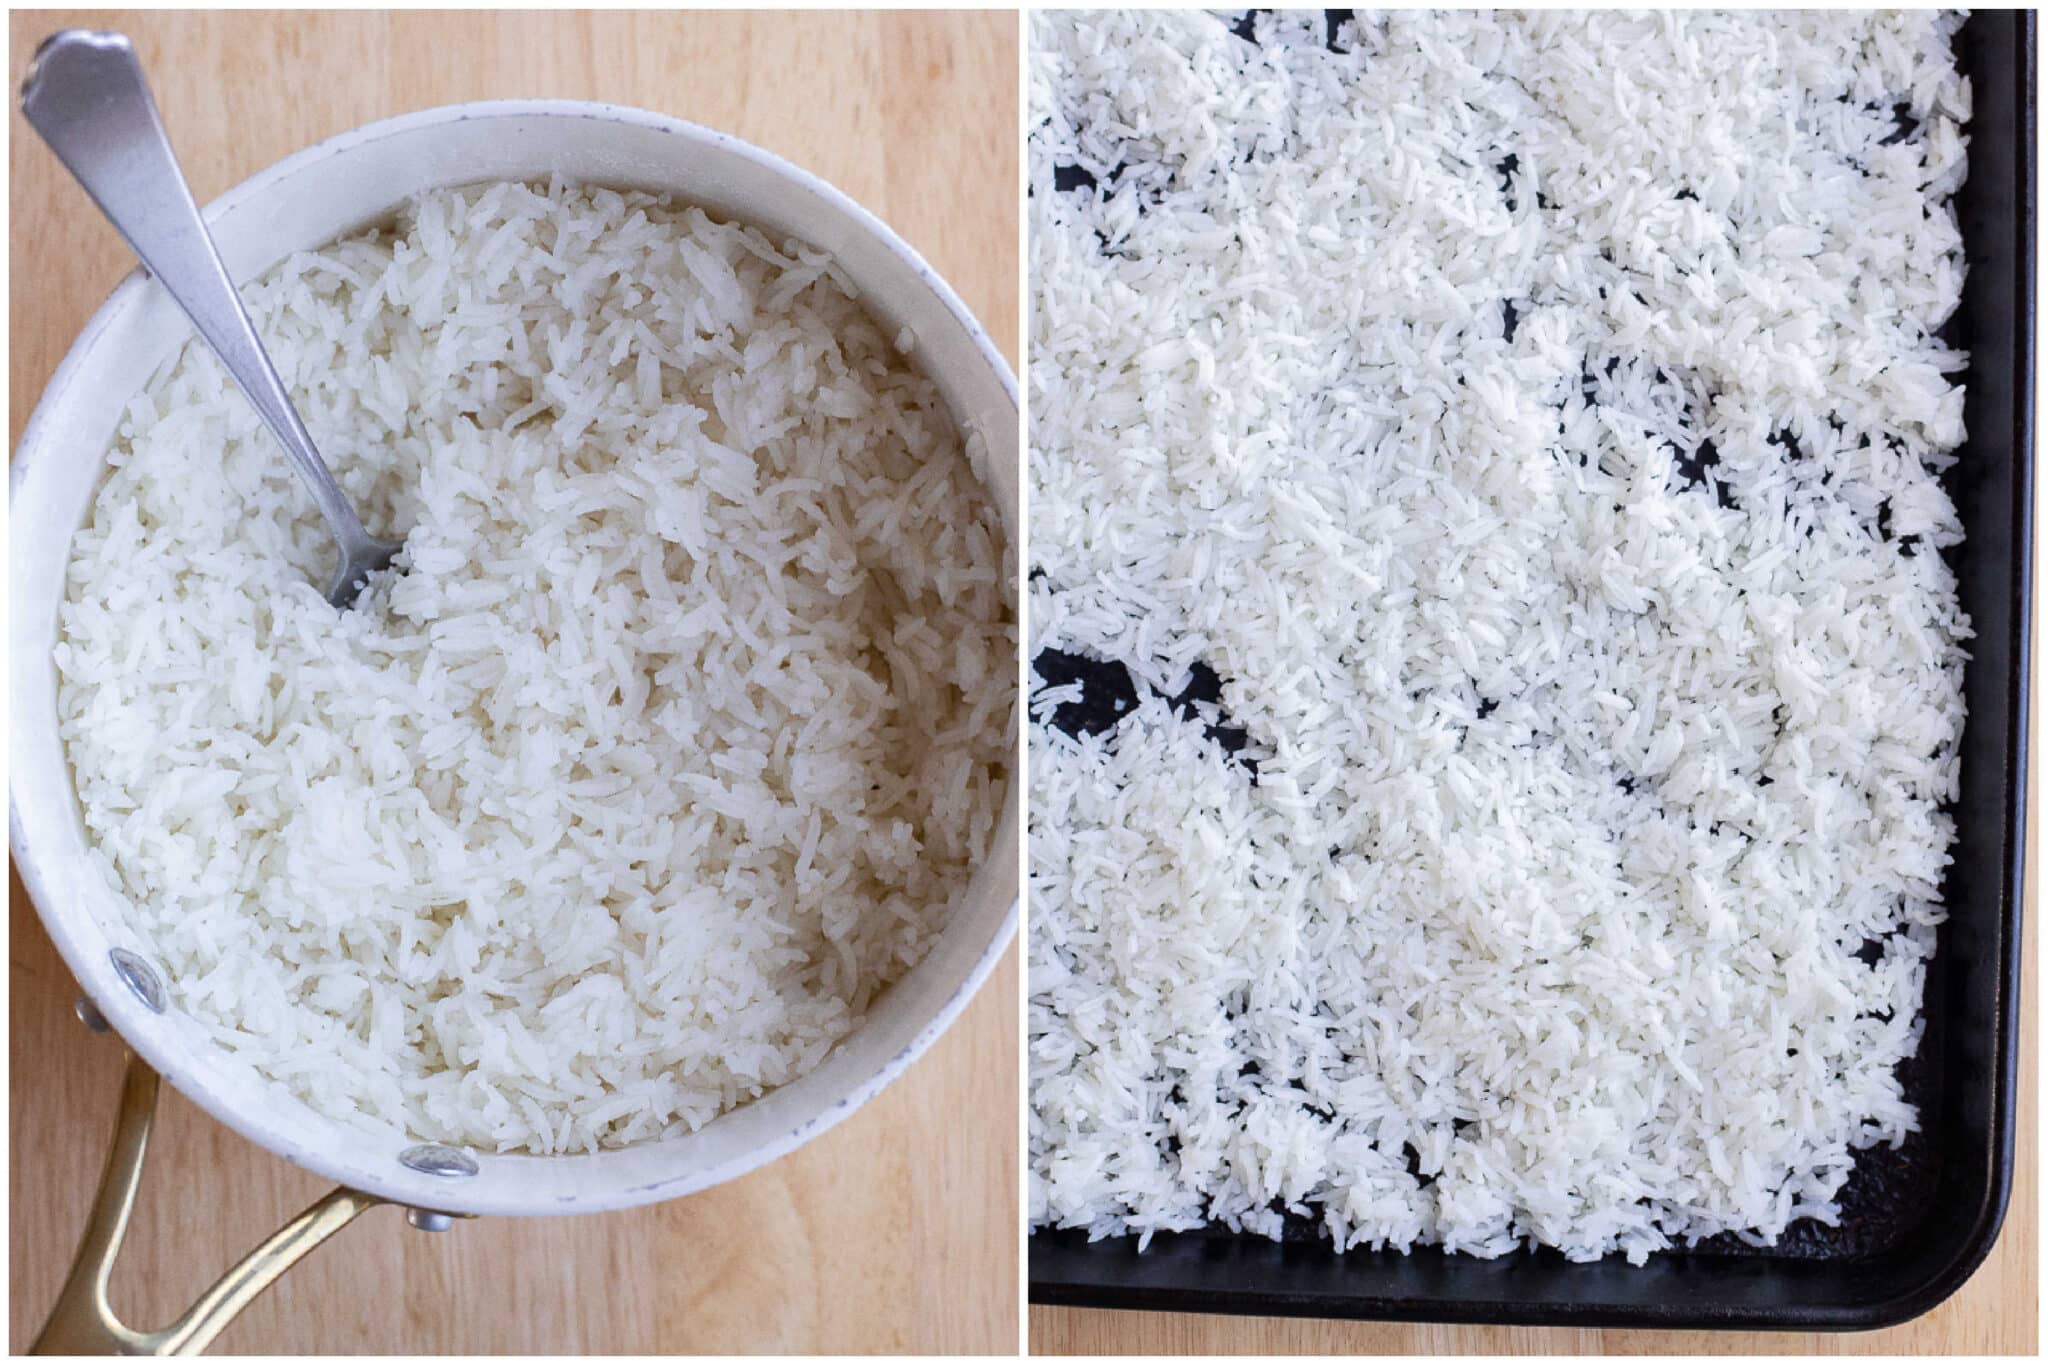
- Cook rice according to package directions. I recommend rinsing it thoroughly before cooking. Once you turn the heat off, keep the lid on and let it sit, covered, for about 10-15 minutes. Remove the lid and use a fork to carefully fluff up and separate the rice.
- Allow the rice to cool completely. You can either let it sit in the pot until it cools or empty the rice onto a large sheet pan and spread it into a single layer. This will allow the rice to cool more quickly, if needed.
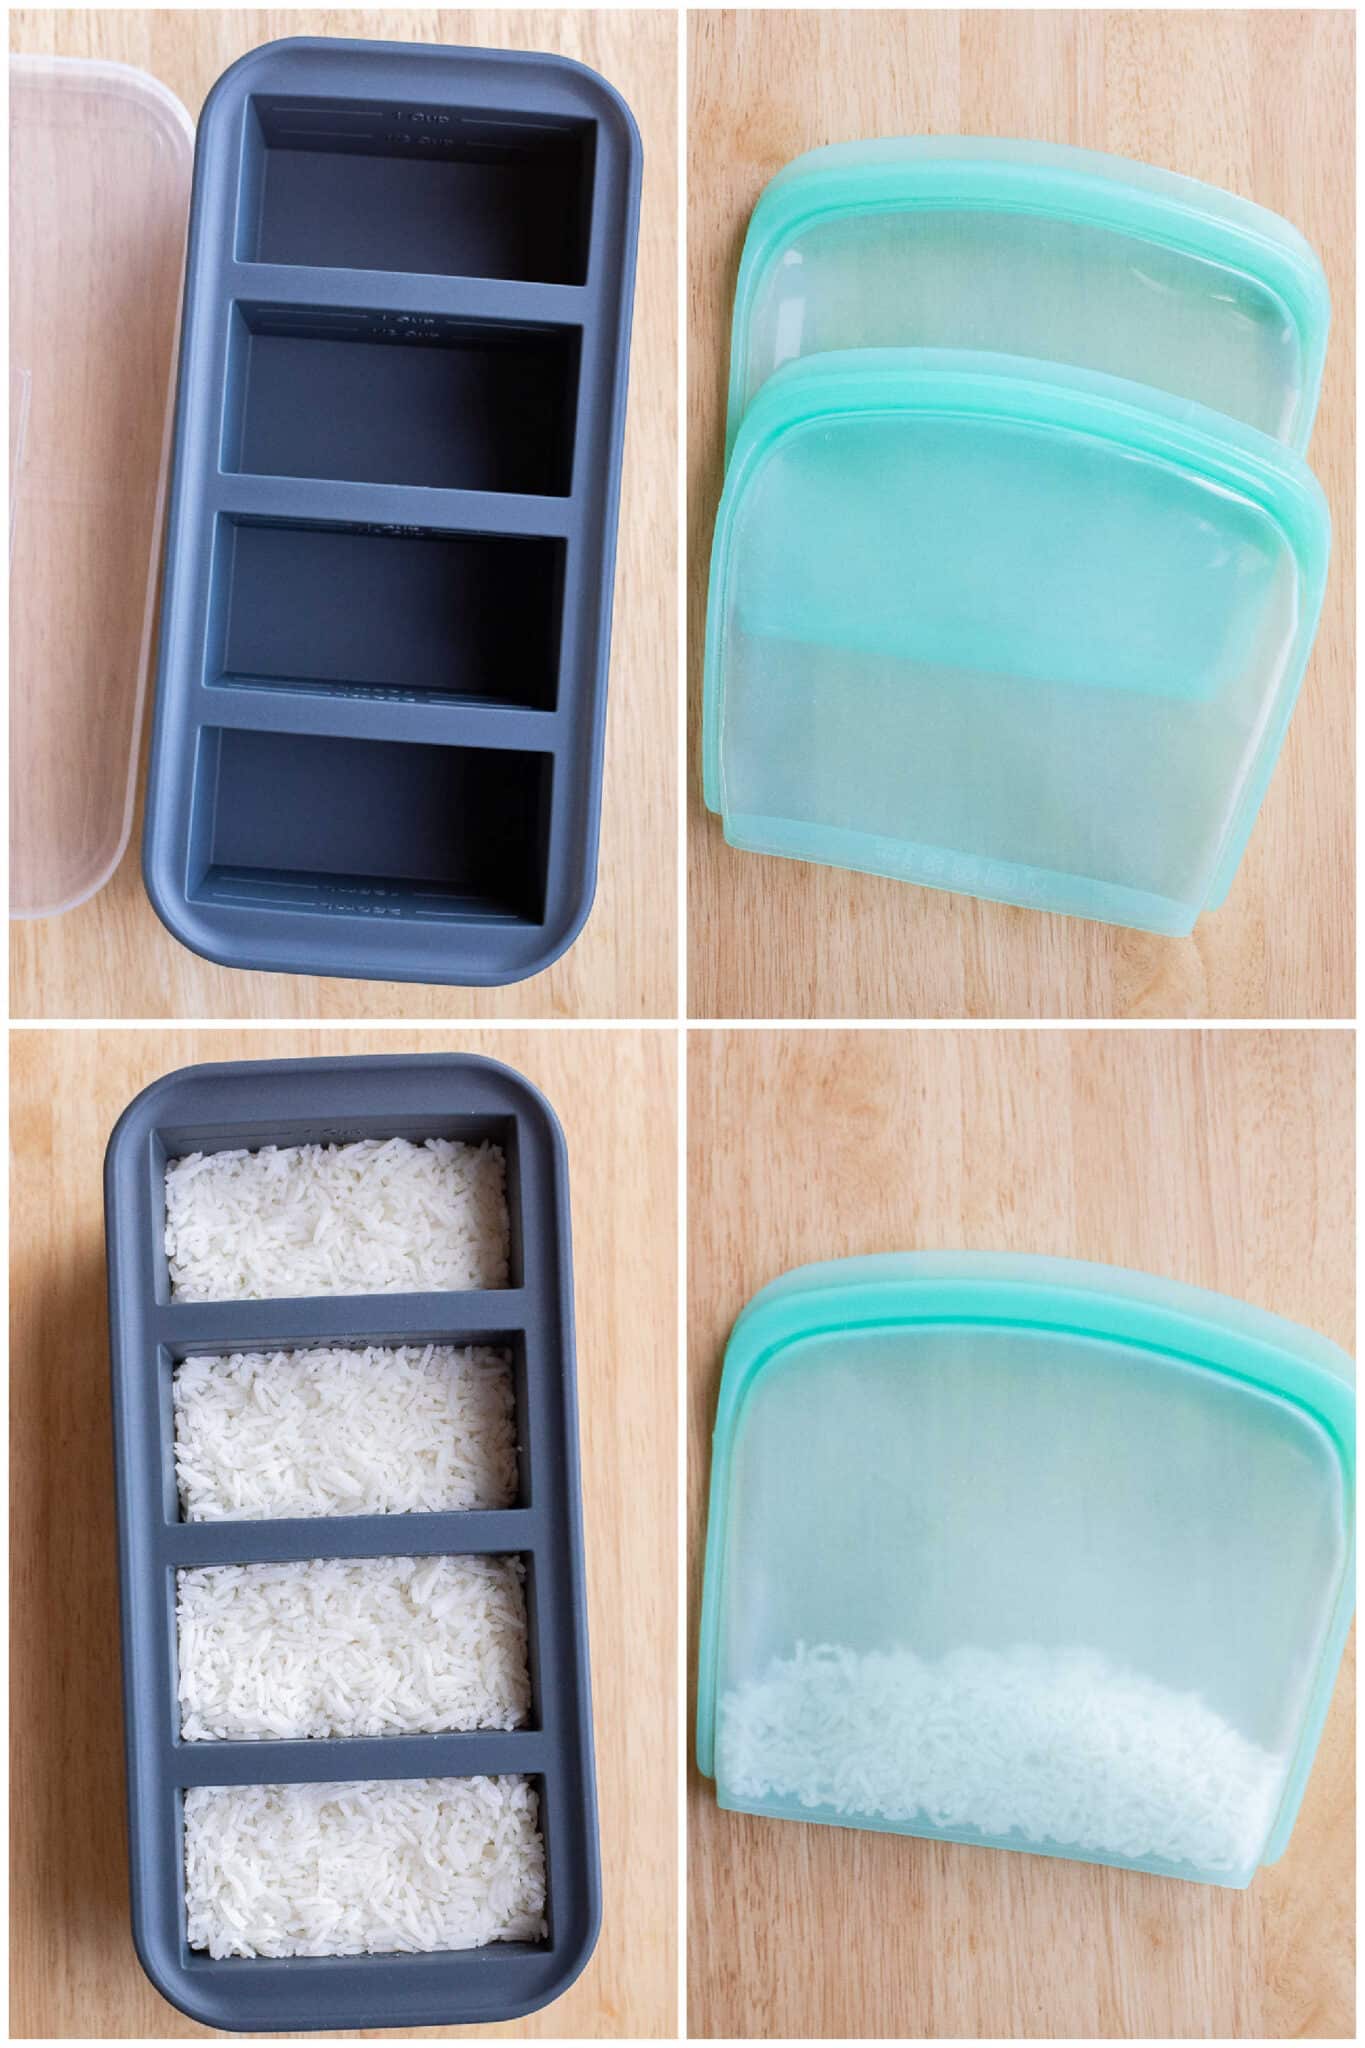
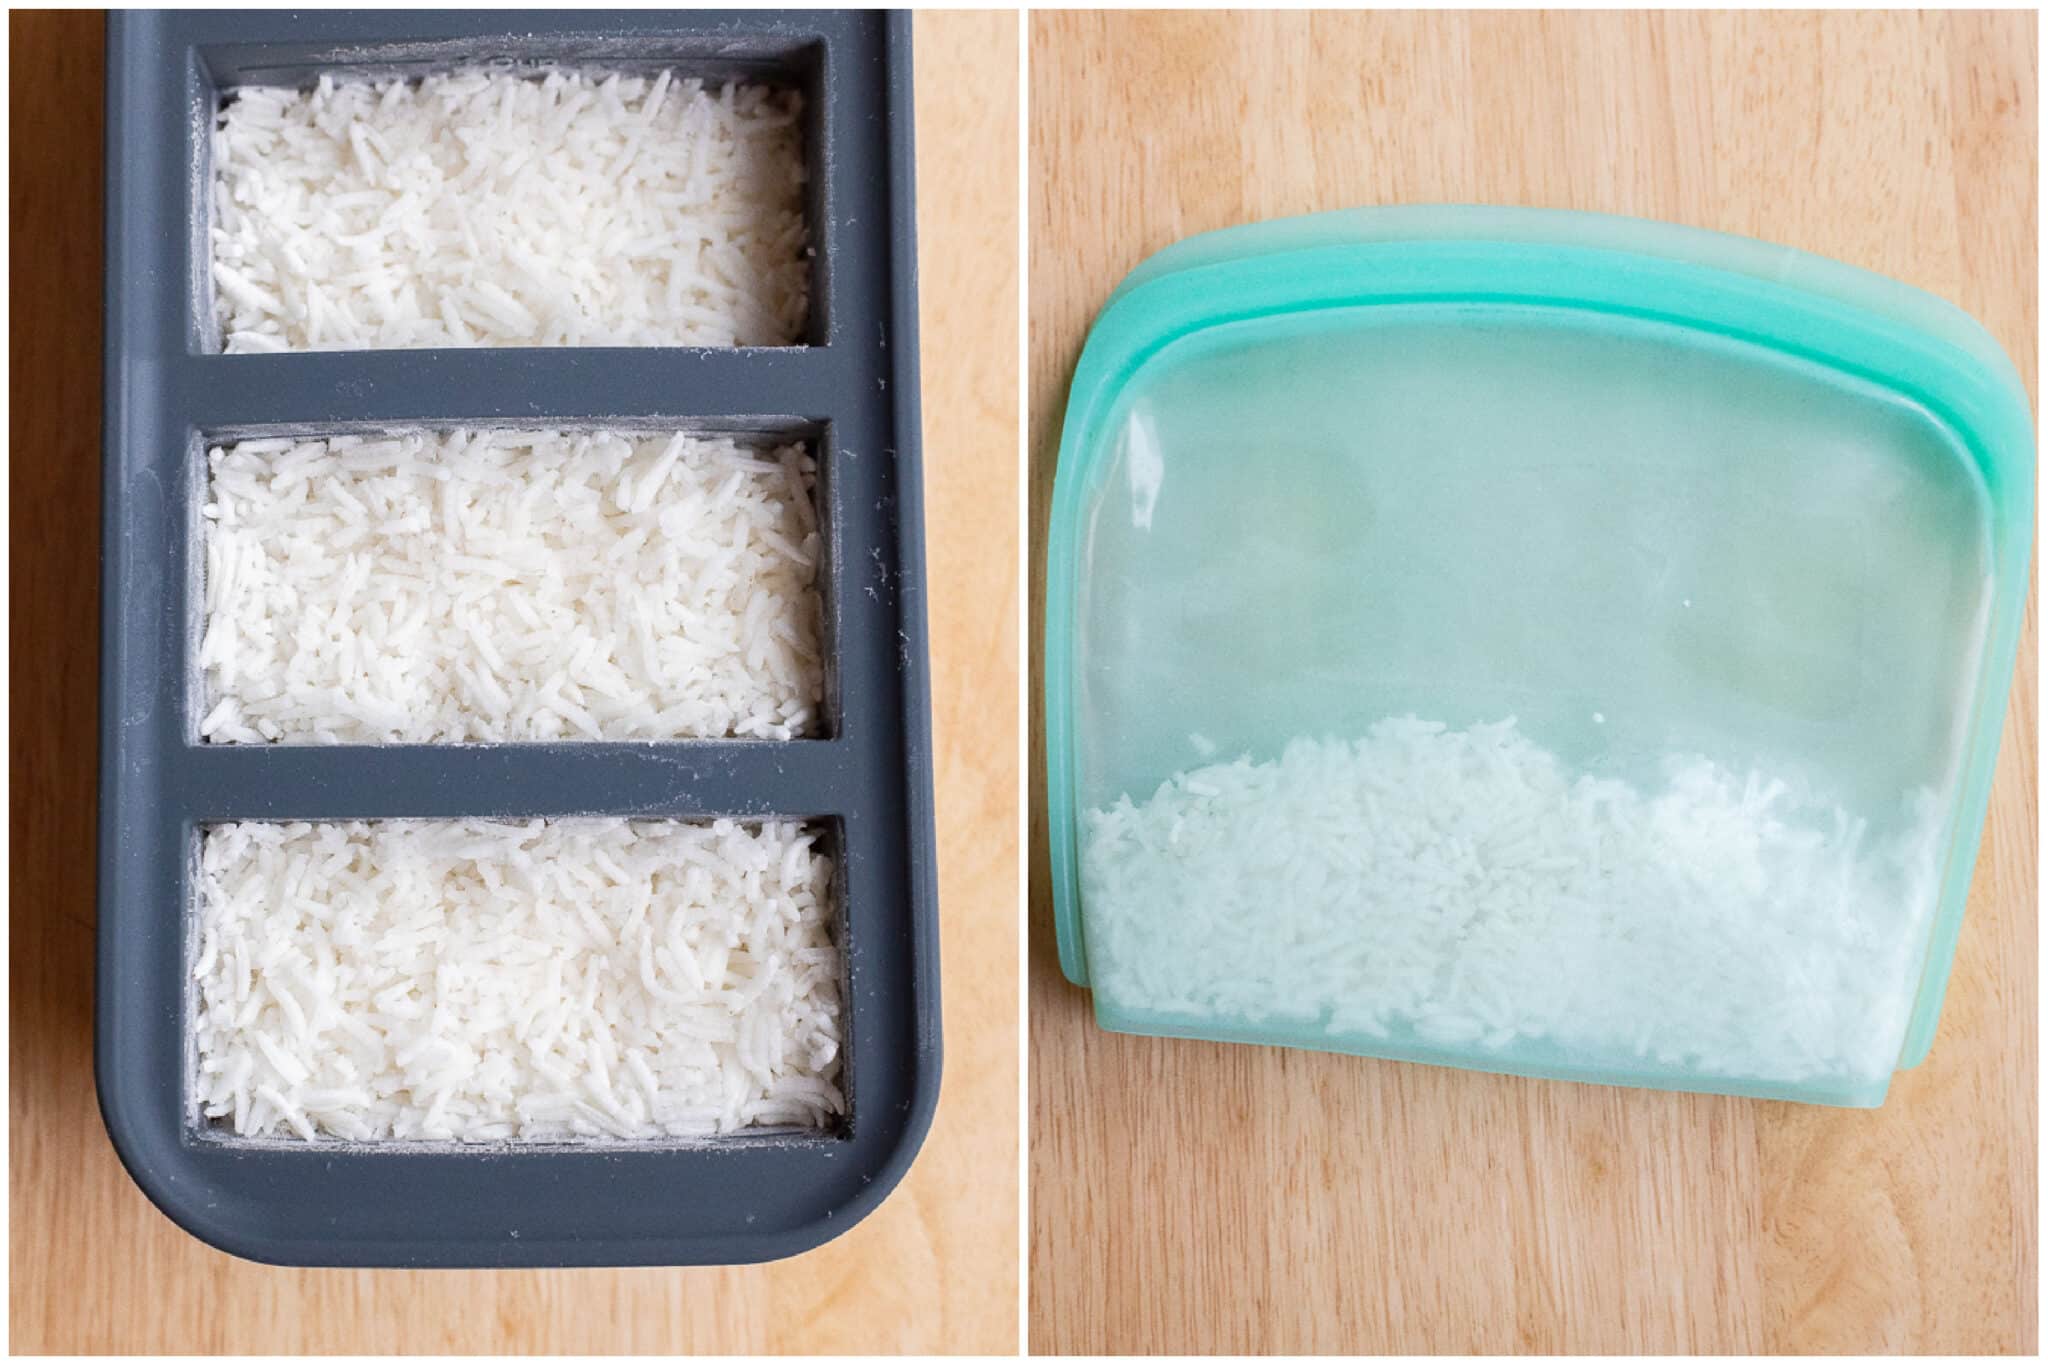
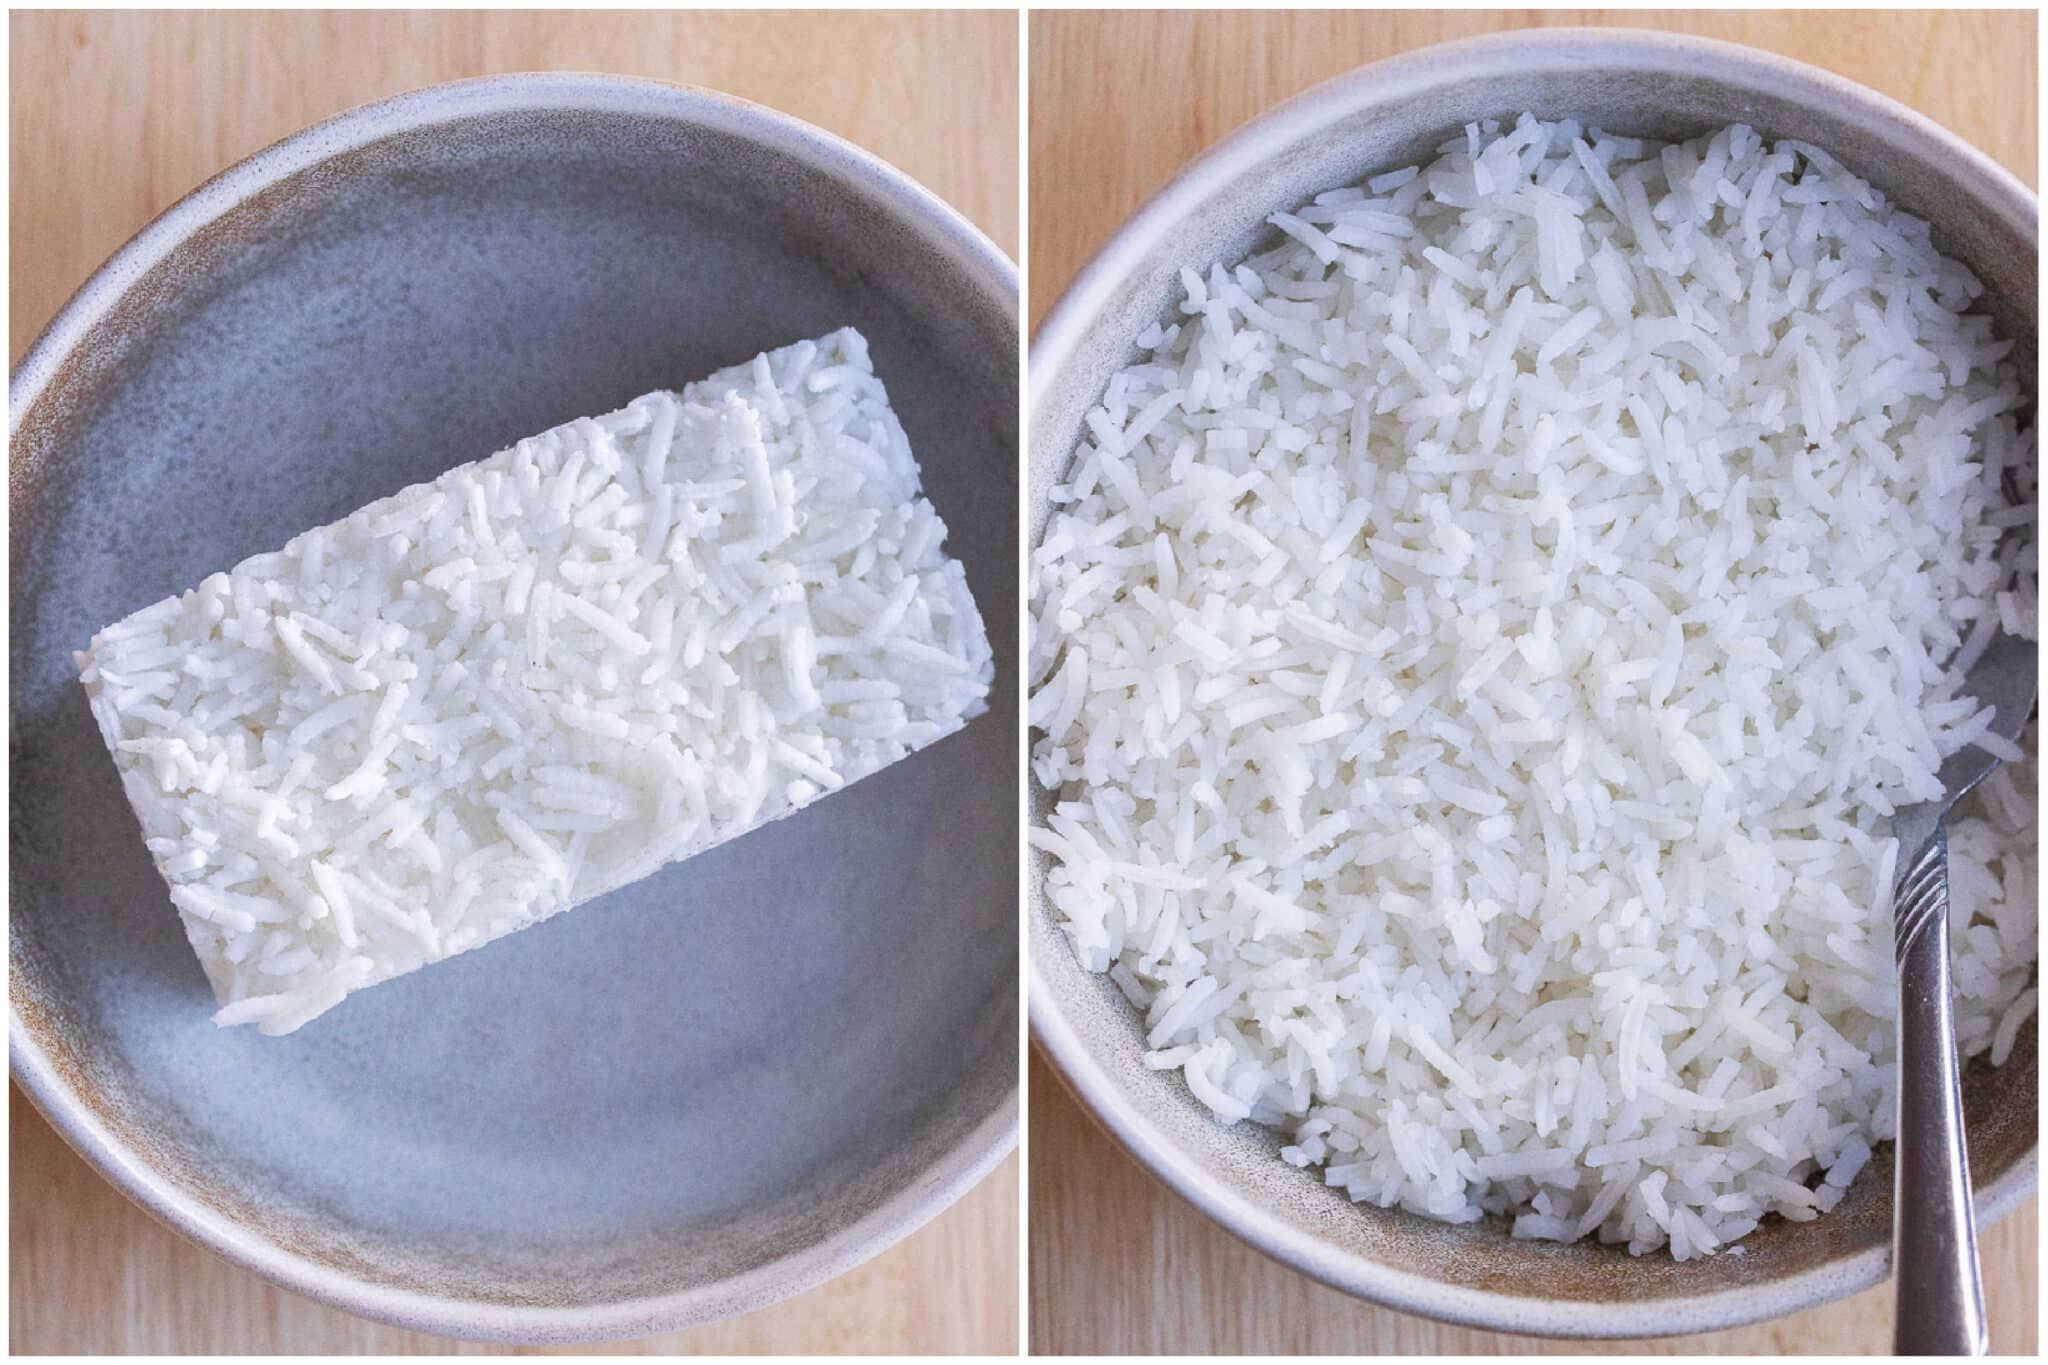
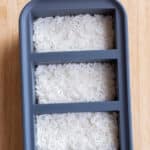
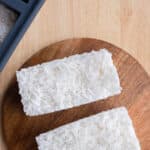
- Once rice is cooled, you can add it to the containers. I recommend using a container that doesn’t leave a lot of empty space above the rice, as that can lead to freezer burn. For example, freezer-friendly zip-lock bags work well, or silicone cube storage, like pictured.
- I like to freeze in measured portions, 1/2 cup and 1 cup have been most convenient, but you can decide what size portions fit your needs best. Once the containers are full, lightly push the rice down, remove as much air as you can (if applicable), and completely seal. Write the date and measurement on the outside of the package, and place it in the freezer for about 3-6 months.
How To Re-heat Frozen Rice
- Microwave – Place the frozen rice in a microwave-safe container, then cover it with a damp paper towel or a plastic splatter cover. This traps heat and moisture in the bowl, helping evenly heat the rice and cook it more quickly. I usually set the timer for 30 seconds at a time, checking it after every 30 seconds.
- Stovetop – Place the frozen rice in a small- to medium-sized pot or skillet, add about 2 tablespoons of water, cover, and let the rice steam for a few minutes, until you can start breaking it apart. Once the rice has completely thawed, cook until all excess water has evaporated and the rice is heated through.
- Add it directly in – If making a hot dish like soup, or a one-pot dinner, you can add the frozen rice straight to the pot and cook until completely thawed and mixed in.
- Allow it to thaw – If you know you’re going to be using your frozen rice, you can place it in the refrigerator or at room temperature for a few hours until completely thawed. Then, cook as you wish.
Tips For Making, Storing, and Using Frozen Rice
- If you want to add extra flavor to your rice, cook it in vegetable broth or add a little butter and salt to the water.
- For a long freezer life, I would recommend freezing the rice in silicone containers and, once completely frozen, removing them and vacuum-sealing each portion separately. Return to the freezer and use within 6 months.
- If you know you’ll be using rice for dinner, let the frozen rice thaw in the refrigerator all day so you can easily add it to any meal you are making. Do this 1-2 days in advance.
- Don’t attempt to re-freeze rice that has already been frozen and thawed. This could encourage bacterial growth that we don’t want.
- You can use freezer-friendly Ziploc bags for your rice, or a reusable container, as shown below. The reusable bags are great because you can microwave the rice right in the bag.
Frequently Asked Questions
- How much rice can you freeze at once? You can freeze as much rice as you like at a time. I would recommend measuring the rice and freezing it in small, individual portions, so it’s easy to reheat or thaw.
- Can brown rice be frozen this way? Yes, you can follow this exact method for freezing brown rice.
- Can other grains be frozen like this? Yes, this method for freezing rice will work with pretty much all other types of grains, such as quinoa, farro, and buckwheat.
- How long can rice be frozen for? I usually recommend using rice within about three months of freezing it, but if stored well, it can last up to 3 months.
- Does the rice need to be thawed before adding it to a recipe? If adding to a hot recipe, like soup, you can throw the frozen rice directly in, but if making something like rice and beans, I would let it thaw beforehand.
Have a question I didn’t answer? Ask me in the comment section below, and I will get back to you ASAP!
Looking For More Ways To Use Frozen Rice?
Cheesy Broccoli Rice Casserole with Tofu
Vegetarian Fajita Rice Casserole
Print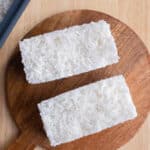
How To Freeze Rice
Description
Having frozen rice on hand for quick recipes can be such a life saver. I’ve spent way too much money buying pre-packed frozen rice from the grocery store, so I’ve finally decided to make my own. It’s budget friendly and a great way to meal prep. Add frozen rice directly into sauces and soups or microwave and mix with butter and salt for an easy side dish. Stock your freezer with cooked rice today and you’ll thank yourself later!
Ingredients
- 1 cup dry white rice, or however much you want to make
Supplies Needed
- Large sheet pan
- Measuring cups
- Freezer friendly storage containers
Instructions
- Cook rice according to package directions. I recommend rinsing it well before cooking it. Once you turn the heat off, keep the lid on and let sit, covered, for about 10-15 minutes. Remove the lid and use a fork to carefully fluff up and separate the rice.
- Allow the rice to cool completely. You can either let it sit in the pot until cooled, or, empty out the rice onto a large sheet pan and spread out into a single layer. This will allow the rice to cool more quickly, if needed.
- Once rice is cooled, you can add it to the containers. I recommend using a container that doesn’t allow for a bunch of empty space above the rice, as that can lead to freezer burn. For example, freezer friendly zip lock bags work well, or silicone cube storage, like pictured.
- I like to freeze in measured portions, 1/2 cup and 1 cup have been most convenient, but you can decide what size portions fit your needs best. Once containers are full, lightly push the rice down and then remove as much air as you can from the container, if applicable, and completely seal. Write the date and measurement on the outside of the package, and place in the freezer for about 3-6 months.
Notes
You can make and freeze as much rice as you like with this recipe.
*I do NOT recommend re-freezing rice that has already been frozen and thawed.


Leave a Reply